Python Pillow 壓縮 JPEG:縮小尺寸、調整品質與檢查結果
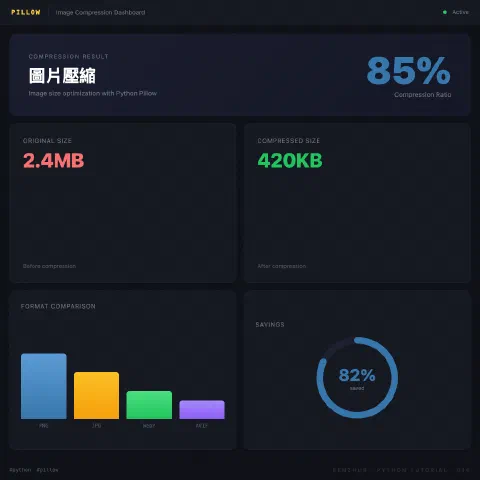
Pillow 能用兩種方式縮小 JPEG:降低像素尺寸,以及調整 JPEG 編碼品質。先確認圖片實際顯示的尺寸,再保存成新檔並量測檔案大小;不要把 quality=85 當作所有格式都通用的壓縮設定。
先決定要壓縮什麼
| 目標 | 做法 | 代價 |
|---|---|---|
| 圖片寬度超過頁面需求 | 等比例縮小像素 | 細節無法還原 |
| JPEG 檔案偏大 | 調整 quality、optimize | 品質可能下降,編碼時間可能增加 |
| PNG 截圖、線條圖 | 保留 PNG,先檢查尺寸與色彩模式 | quality 不是 PNG 的 JPEG 品質參數 |
| 需要透明背景 | 保留支援透明的格式 | 轉 JPEG 會失去透明度 |
要評估「壓縮成功」,同時看檔案大小與放大後的字、邊緣和細節。照片和文字截圖適合的格式與設定不同。Pillow 的 JPEG 儲存參數 也提醒不要盲目使用高於 95 的品質值。
可直接執行的單檔 JPEG 範例
以下只接受 JPEG 輸入和 JPEG 輸出,避免把 PNG 透明圖意外轉成不透明。請把程式存成 compress_jpeg.py:
from argparse import ArgumentParser
from pathlib import Path
from PIL import Image, ImageOps

parser = ArgumentParser(description="縮小並重新編碼一張 JPEG")
parser.add_argument("source", type=Path)
parser.add_argument("destination", type=Path)
parser.add_argument("--max-width", type=int, default=1600)
parser.add_argument("--quality", type=int, default=82)
args = parser.parse_args()

if not 1 <= args.quality <= 95:
    parser.error("--quality 必須在 1 到 95 之間")
if args.max_width < 1:
    parser.error("--max-width 必須大於 0")
if args.source.resolve() == args.destination.resolve():
    parser.error("請使用不同的輸入與輸出路徑,避免覆蓋原圖")

with Image.open(args.source) as original:
    if original.format != "JPEG":
        parser.error("此範例只處理 JPEG;PNG 請另選適合的格式流程")
    image = ImageOps.exif_transpose(original)
    if image.width > args.max_width:
        height = round(image.height * args.max_width / image.width)
        image = image.resize((args.max_width, height), Image.Resampling.LANCZOS)
    image = image.convert("RGB")
    image.save(args.destination, format="JPEG", quality=args.quality,
               optimize=True, progressive=True)

before = args.source.stat().st_size
after = args.destination.stat().st_size
print(f"{before:,} → {after:,} bytes ({(1 - after / before) * 100:.1f}% smaller)")
安裝並執行:
python3 -m venv .venv
. .venv/bin/activate
python -m pip install Pillow
python compress_jpeg.py input.jpg output.jpg --max-width 1600 --quality 82
程式會依 EXIF 方向旋轉圖片,再等比例縮小;它不會放大已經比較小的圖。save() 沒有傳入原圖 EXIF,因此輸出不會完整保留相機資訊;若需要保留拍攝時間、ICC 色彩描述檔或其他 metadata,應按產品需求另行處理並檢查輸出色彩。對有顏色要求的作品,不應直接把這個示範當成發佈流程。
批次處理資料夾中的 JPEG
要處理整個資料夾時,先保留上面的 compress_jpeg.py,再把以下程式存成同一目錄的 compress_folder.py。它只讀取輸入資料夾的第一層 .jpg、.jpeg 檔案,輸出到另一個資料夾;遇到已存在的輸出檔會跳過,避免覆蓋人工調整過的圖片。
from pathlib import Path
import subprocess
import sys

if len(sys.argv) != 3:
    raise SystemExit("用法:python compress_folder.py INPUT_DIR OUTPUT_DIR")

source_dir = Path(sys.argv[1])
output_dir = Path(sys.argv[2])
if not source_dir.is_dir():
    raise SystemExit("輸入路徑不是資料夾")
if source_dir.resolve() == output_dir.resolve():
    raise SystemExit("輸入與輸出資料夾必須不同")

output_dir.mkdir(parents=True, exist_ok=True)
compressor = Path(__file__).with_name("compress_jpeg.py")
for source in sorted(source_dir.iterdir()):
    if not source.is_file() or source.suffix.lower() not in {".jpg", ".jpeg"}:
        continue
    destination = output_dir / source.name
    if destination.exists():
        print(f"略過已存在檔案:{destination}")
        continue
    subprocess.run([sys.executable, str(compressor), str(source),
                    str(destination)], check=True)
python compress_folder.py ./photos ./compressed
先用少量圖片試跑並目視檢查。這個批次包裝不會遞迴子資料夾,也不會處理 PNG;若要支援其他格式,需要分別決定透明度、色彩和輸出格式,不能只改副檔名。
如何檢查壓縮結果
同一張圖可以試 quality=75、82、90,記錄輸出 bytes,再以實際展示尺寸目視比較。壓縮率取決於原圖內容、既有壓縮程度和尺寸,不能保證固定百分比。若新檔反而更大,先檢查原圖是否早已最佳化,或是否選了過高的品質。
python compress_jpeg.py input.jpg output-82.jpg --quality 82
python compress_jpeg.py input.jpg output-90.jpg --quality 90
若是 PNG,先考慮是否真的需要透明或無損影像;不要直接把上面的 JPEG 參數套到 .png。如果圖片由使用者上傳,也要限制來源尺寸與檔案大小,防止不可信圖片耗盡記憶體。更多 Python 函式寫法可接著看 Python 函式入門。