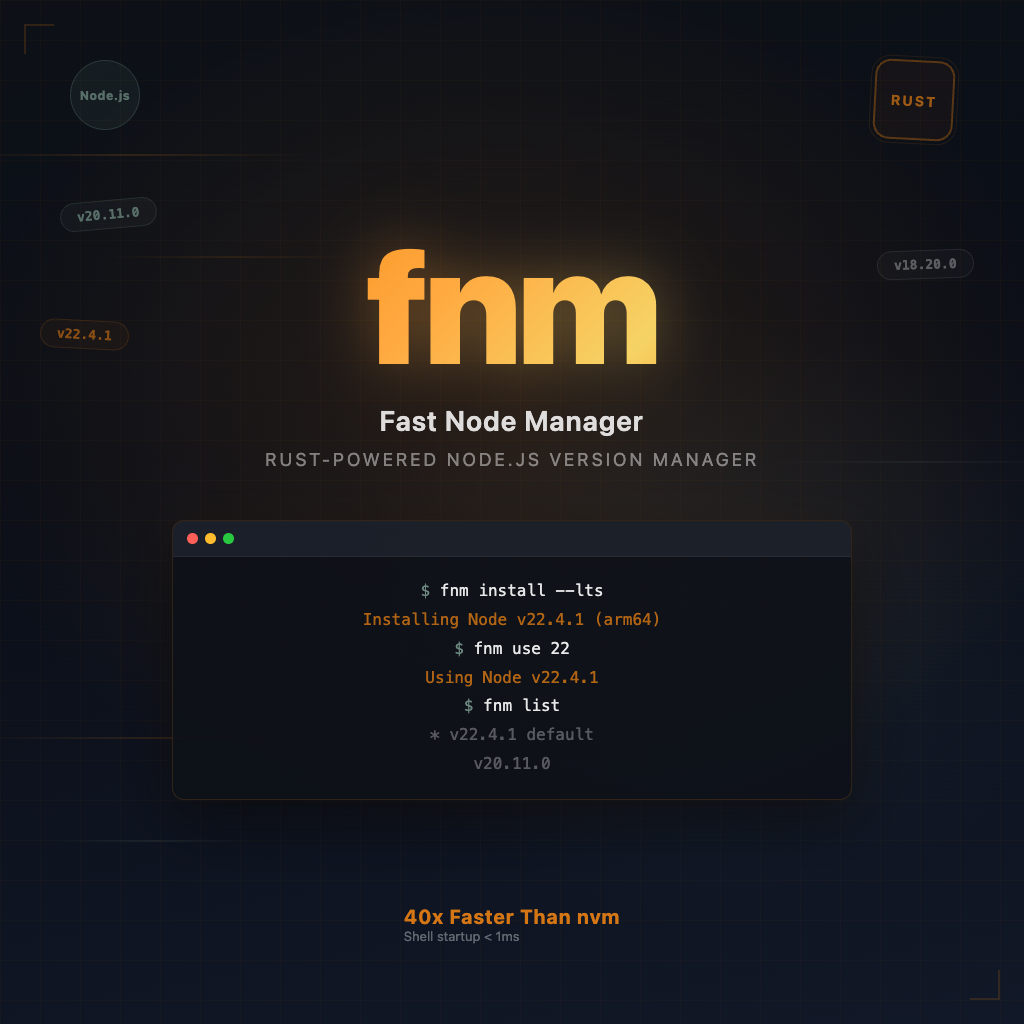
fnm: Fast Node Manager Complete Guide | 40x Faster Than nvm
fnm (Fast Node Manager) is a cross-platform Node.js version manager written in Rust. It uses the same commands as nvm (fnm install, fnm use, fnm ls) but starts 40x faster because it’s a compiled binary rather than a shell script. fnm supports macOS, Linux, and Windows natively, reads your existing .nvmrc files, and can automatically switch Node.js versions when you cd into a project directory.
What Is fnm and Why Switch from nvm?
If you’ve ever noticed your terminal taking an extra second or two to start up, that delay is likely nvm sourcing its shell script (~100ms+ on every new shell session). fnm eliminates this entirely with startup times under 1 millisecond.
Here’s what makes fnm a compelling nvm replacement:
- Speed: Rust-compiled binary with < 1ms shell startup (vs nvm’s ~100ms+)
- Cross-platform: Native support for macOS, Linux, and Windows (nvm requires a separate nvm-windows project)
- Compatible: Reads
.nvmrcand.node-versionfiles — no project changes needed - Familiar commands:
fnm install,fnm use,fnm lswork just like their nvm counterparts - Auto-switching: Built-in
--use-on-cdflag handles version switching automatically
The bottom line: fnm does the same job as nvm with nearly identical commands, but without slowing down your terminal. The migration cost is close to zero.
Installing fnm (macOS, Windows, Linux)
macOS (Homebrew recommended)
brew install fnm
Linux / macOS (install script)
curl -fsSL https://fnm.vercel.app/install | bash
Windows
# Winget
winget install Schniz.fnm

# Or Scoop
scoop install fnm

# Or Chocolatey
choco install fnm
Upgrading fnm
# macOS
brew upgrade fnm

# Other systems (--skip-shell prevents duplicate shell config entries)
curl -fsSL https://fnm.vercel.app/install | bash -s -- --skip-shell
Shell Setup (Zsh, Bash, Fish, PowerShell)
Installing the fnm binary is only half the job. You must add shell integration so fnm can manage your PATH and enable auto-switching.
Zsh (.zshrc)
eval "$(fnm env --use-on-cd --shell zsh)"
Bash (.bashrc)
eval "$(fnm env --use-on-cd --shell bash)"
Fish (~/.config/fish/conf.d/fnm.fish)
fnm env --use-on-cd --shell fish | source
PowerShell
fnm env --use-on-cd --shell powershell | Out-String | Invoke-Expression
The
--use-on-cdflag is critical. With it enabled, fnm automatically switches Node.js versions whenever you enter a directory containing.nvmrcor.node-version— no manualfnm userequired.
After adding the line, restart your terminal or source your profile:
source ~/.zshrc # or ~/.bashrc
fnm Commands Cheat Sheet
Installing Node.js Versions
| Command | Description |
|---|---|
fnm install <version> | Install a specific version, e.g. fnm install 20.11.0 |
fnm install --lts | Install the latest LTS version |
fnm install latest | Install the latest current version |
Switching Versions
| Command | Description |
|---|---|
fnm use <version> | Switch to a specific version |
fnm use --lts | Switch to the latest LTS |
fnm use latest | Switch to the latest installed version |
fnm default <version> | Set the global default version |
Listing Versions
| Command | Description |
|---|---|
fnm list or fnm ls | List all locally installed versions |
fnm list-remote or fnm ls-remote | List all available remote versions |
fnm current | Show the currently active version |
node -v | Verify the active Node.js version |
fnm --version | Show the fnm version itself |
Removing Versions
| Command | Description |
|---|---|
fnm uninstall <version> | Remove a specific installed version |
Shell Completions
fnm completions --shell zsh   # Output Zsh completion script
fnm completions --shell bash
fnm completions --shell fish
fnm completions --shell powershell
Auto-Switching Node.js Versions
The killer feature of fnm (especially combined with --use-on-cd) is automatic version switching. Here’s how to set it up for your project:
Step 1: Pin Your Project’s Node.js Version
node --version > .node-version
Or if you prefer .nvmrc (both work):
node --version > .nvmrc
Step 2: Verify Auto-Switching Works
cd your-project/
# fnm automatically runs: fnm use <version from .node-version>
node -v  # Should match the version in your file
That’s it. With --use-on-cd in your shell config, every time you cd into a directory with a version file, fnm silently switches to the correct Node.js version. No more “works on my machine” issues caused by version mismatches.
Per-Shell Isolation
fnm sets the Node.js version per shell session. This means you can run Node.js 18 in one terminal tab and Node.js 22 in another without conflict — ideal for working on multiple projects simultaneously.
fnm vs nvm: Complete Comparison
| Feature | fnm | nvm |
|---|---|---|
| Language | Rust (compiled binary) | Shell Script |
| Shell startup time | < 1ms | ~100ms+ |
| Cross-platform | macOS / Linux / Windows | macOS / Linux only |
| Auto version switching | Built-in --use-on-cd | Requires extra config |
.nvmrc support | Yes | Yes |
.node-version support | Yes | No (not natively) |
| Command compatibility | Nearly identical to nvm | — |
| Windows support | Native | Needs nvm-windows (separate project) |
| Installation | Single binary | Shell script sourced on every session |
When to Choose fnm
- You want a faster terminal startup
- You work on Windows (or switch between Windows and macOS/Linux)
- You want auto-switching out of the box
- You value simplicity: one binary, one line of shell config
When nvm Might Still Be Okay
- You rely on nvm-specific features like
nvm execwith complex arguments - Your CI/CD scripts are deeply tied to nvm and rewriting them isn’t worth it
- You don’t notice the startup delay (some machines load nvm faster)
In practice, most developers who try fnm never go back. The speed difference is immediately noticeable, especially if you frequently open new terminal windows or tabs.
Migrating from nvm to fnm
The migration is straightforward because fnm’s commands are nearly identical to nvm’s.
Step 1: Install fnm
Follow the installation instructions above for your platform.
Step 2: Re-install Your Node.js Versions
# Check which versions you have in nvm
nvm ls

# Install them in fnm
fnm install 18.19.0
fnm install 20.11.0
fnm install 22.0.0

# Set your default
fnm default 20.11.0
Step 3: Update Your Shell Config
Remove the nvm initialization lines from your .zshrc / .bashrc:
# Remove these nvm lines:
# export NVM_DIR="$HOME/.nvm"
# [ -s "$NVM_DIR/nvm.sh" ] && \. "$NVM_DIR/nvm.sh"

# Add this fnm line instead:
eval "$(fnm env --use-on-cd --shell zsh)"
Step 4: Reinstall Global Packages
Global npm packages are tied to each Node.js installation, so you’ll need to reinstall them:
fnm use 20.11.0
npm install -g typescript eslint prettier
Step 5: (Optional) Remove nvm
Once you’ve confirmed everything works:
rm -rf "$NVM_DIR"
Command Mapping Reference
| nvm command | fnm equivalent |
|---|---|
nvm install 20 | fnm install 20 |
nvm use 20 | fnm use 20 |
nvm ls | fnm ls |
nvm ls-remote | fnm ls-remote |
nvm alias default 20 | fnm default 20 |
nvm current | fnm current |
nvm uninstall 18 | fnm uninstall 18 |
Uninstalling fnm
If you ever need to remove fnm:
- Delete the fnm data directory:
rm -rf ~/.fnm - Remove the
eval "$(fnm env ...)"line from your shell config file (.zshrc,.bashrc, etc.) - If installed via Homebrew:
brew uninstall fnm
Switching to fnm costs almost nothing — the commands are compatible, configuration is a single line, and the speed improvement is immediately noticeable. If your terminal still waits for nvm to load every time you open it, now is a good time to make the switch.
Related reading:
- NVM vs NPM vs Node.js: What’s the Difference? — Understand how these tools relate before choosing a version manager
- NVM Commands Cheat Sheet — Complete nvm command reference
- Backoff Strategy Guide — Best practices for retrying failed API requests in Node.js
Further reading:
Software developer passionate about technology. Sharing programming experiences and learning notes.